
How to photograph small products
First, keep in mind that there are 2 types of product photos:
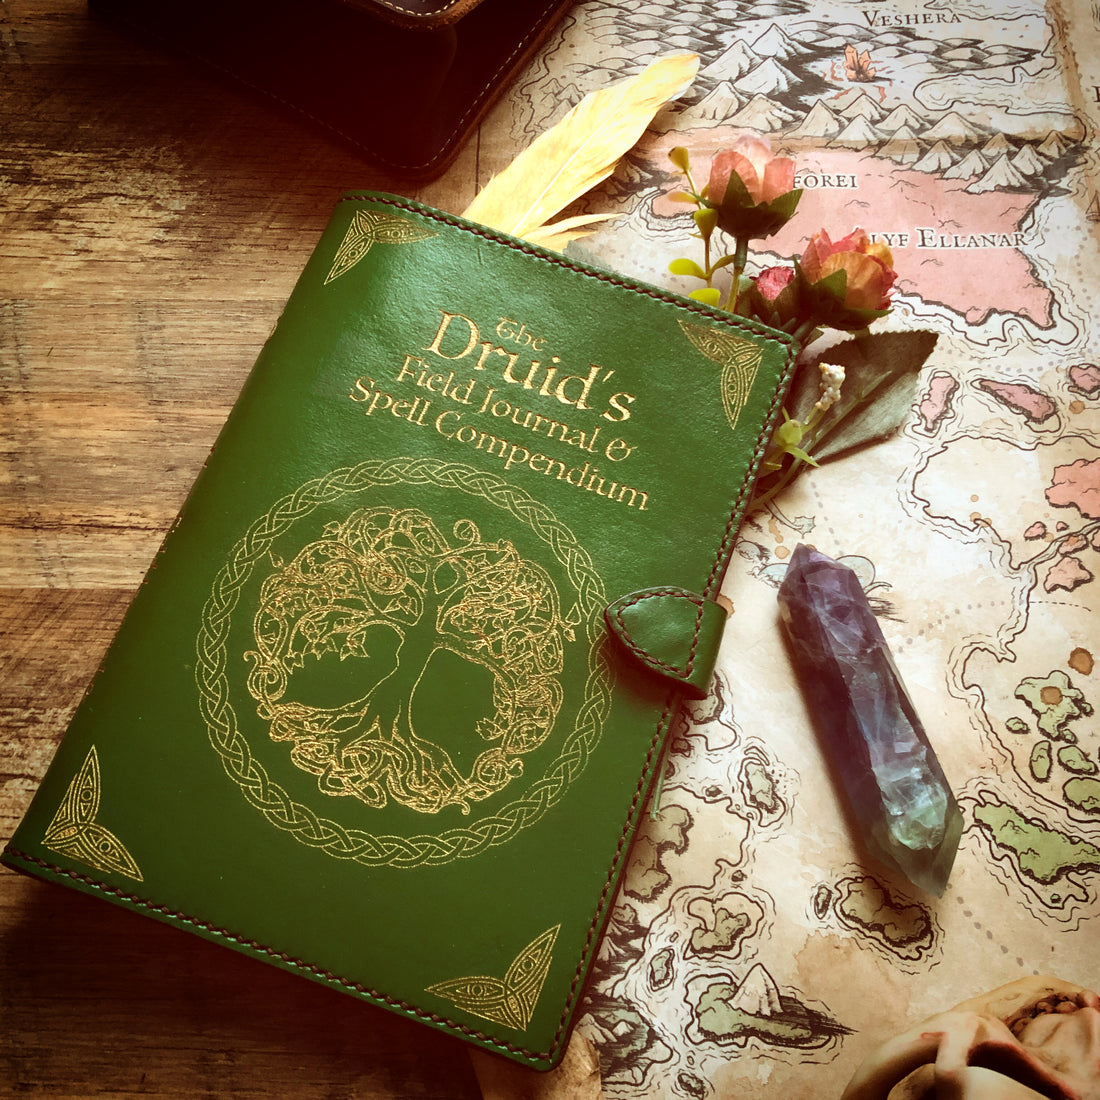
- In situation: These are images taken of the product in use. These can be highly dramatic photos that you've edited to change the lighting, coloring, etc. These photos are meant to be your advertisements, your way of capturing your customers' attention. Have fun with these and really play up to your audience! We all love imagining things in our own homes looking just as amazing as they do in the photos.
- Informative: These are images meant to give a clear picture of the product's details. These don't have to be on a stark white background (actually, I don't recommend that at all but more on that in a bit) but you do want something that really shows the product's details, size, and various angles. This is where you give as much info on the product as you can in a series of photos.


Second, you don't need a fancy setup or expensive equipment. As a matter of fact, all my photography is done with my phone and either natural light or LED lights. The most expensive lighting I have is about $130 for LED shop lights* that I use for work as well as photography. Though I generally use those for large products like maps & shirts. For small things like dice or minis, I use a ring light* or my small panel light*. The ring light is perfect for videos where I'm moving the camera from item to item so the light follows along with the video (and it has 3 brightness settings). The panel light is my favorite and most used light. It has a dimming wheel that let's me adjust the light to exactly what I need and I can change the color of the light from cool to warm. I even have a diffuser cozy* for it!
The key to using these lights isn't to brighten the product you're photographing but to make the light consistent around all sides. This shows the product details and color best. Bright lights only wash out photos & create reflections that make items difficult to see. That's why we use light boxes, to reflect light form all angles to even out the product lighting.
Speaking of light boxes, I stated earlier that I discourage white backgrounds. That's only half true. If you're removing the background entirely, yes, go for it. Otherwise, unless your product gets easily lost in a colored background, I recommend not photographing against white. Not only does this take away from the product being handmade, hand painted, art, or anything that implies it's not mass produced, it also makes it harder to get "perfect". Most people think they need a LOT of lighting to get good pics but really, you need even lighting. I have a few of these handheld reflectors* that I'll put around products to get the most even lighting I can.
Third, it's ok to edit your photos! The point of product photos serves 2 purposes, to display and to inform (just as the first paragraph implies). So if you need to edit a photo to accomplish either one of these, it's ok. It's not "cheating" or "being deceitful". Editing images to correct color or errors in the image is perfectly fine. Besides, everyone's monitors are different and as long as you aren't drastically changing the colors it's fine.
Where this gets muddy is when we want to highlight a product feature that isn't normally seen when it's held in your hand. This most common happens with things like dice. We want to show the details of the dice but without shining light through the dice, you hardly see it. Again, this is fine to highlight as long as you show what they look like without light being shined through them. There's nothing the matter with calling such features "hidden" or "secret" to intrigue your customers but if they're presented in your photos like they'll look like that out of the package and they don't...well, you're not going to get those customers returning to buy more. You might only get them returning to ask for a refund and/or complaining about your stuff to others.
*external Amazon affiliate link